


Installing Turf Yourself
In the modern day, everyone wants to have a beautiful and picturesque home, but the cost of
building such an abode requires extensive expenditures. From designing to the actual
implementation of the idea, money remains the deciding factor for each and every family out
there trying to build the picture perfect house.
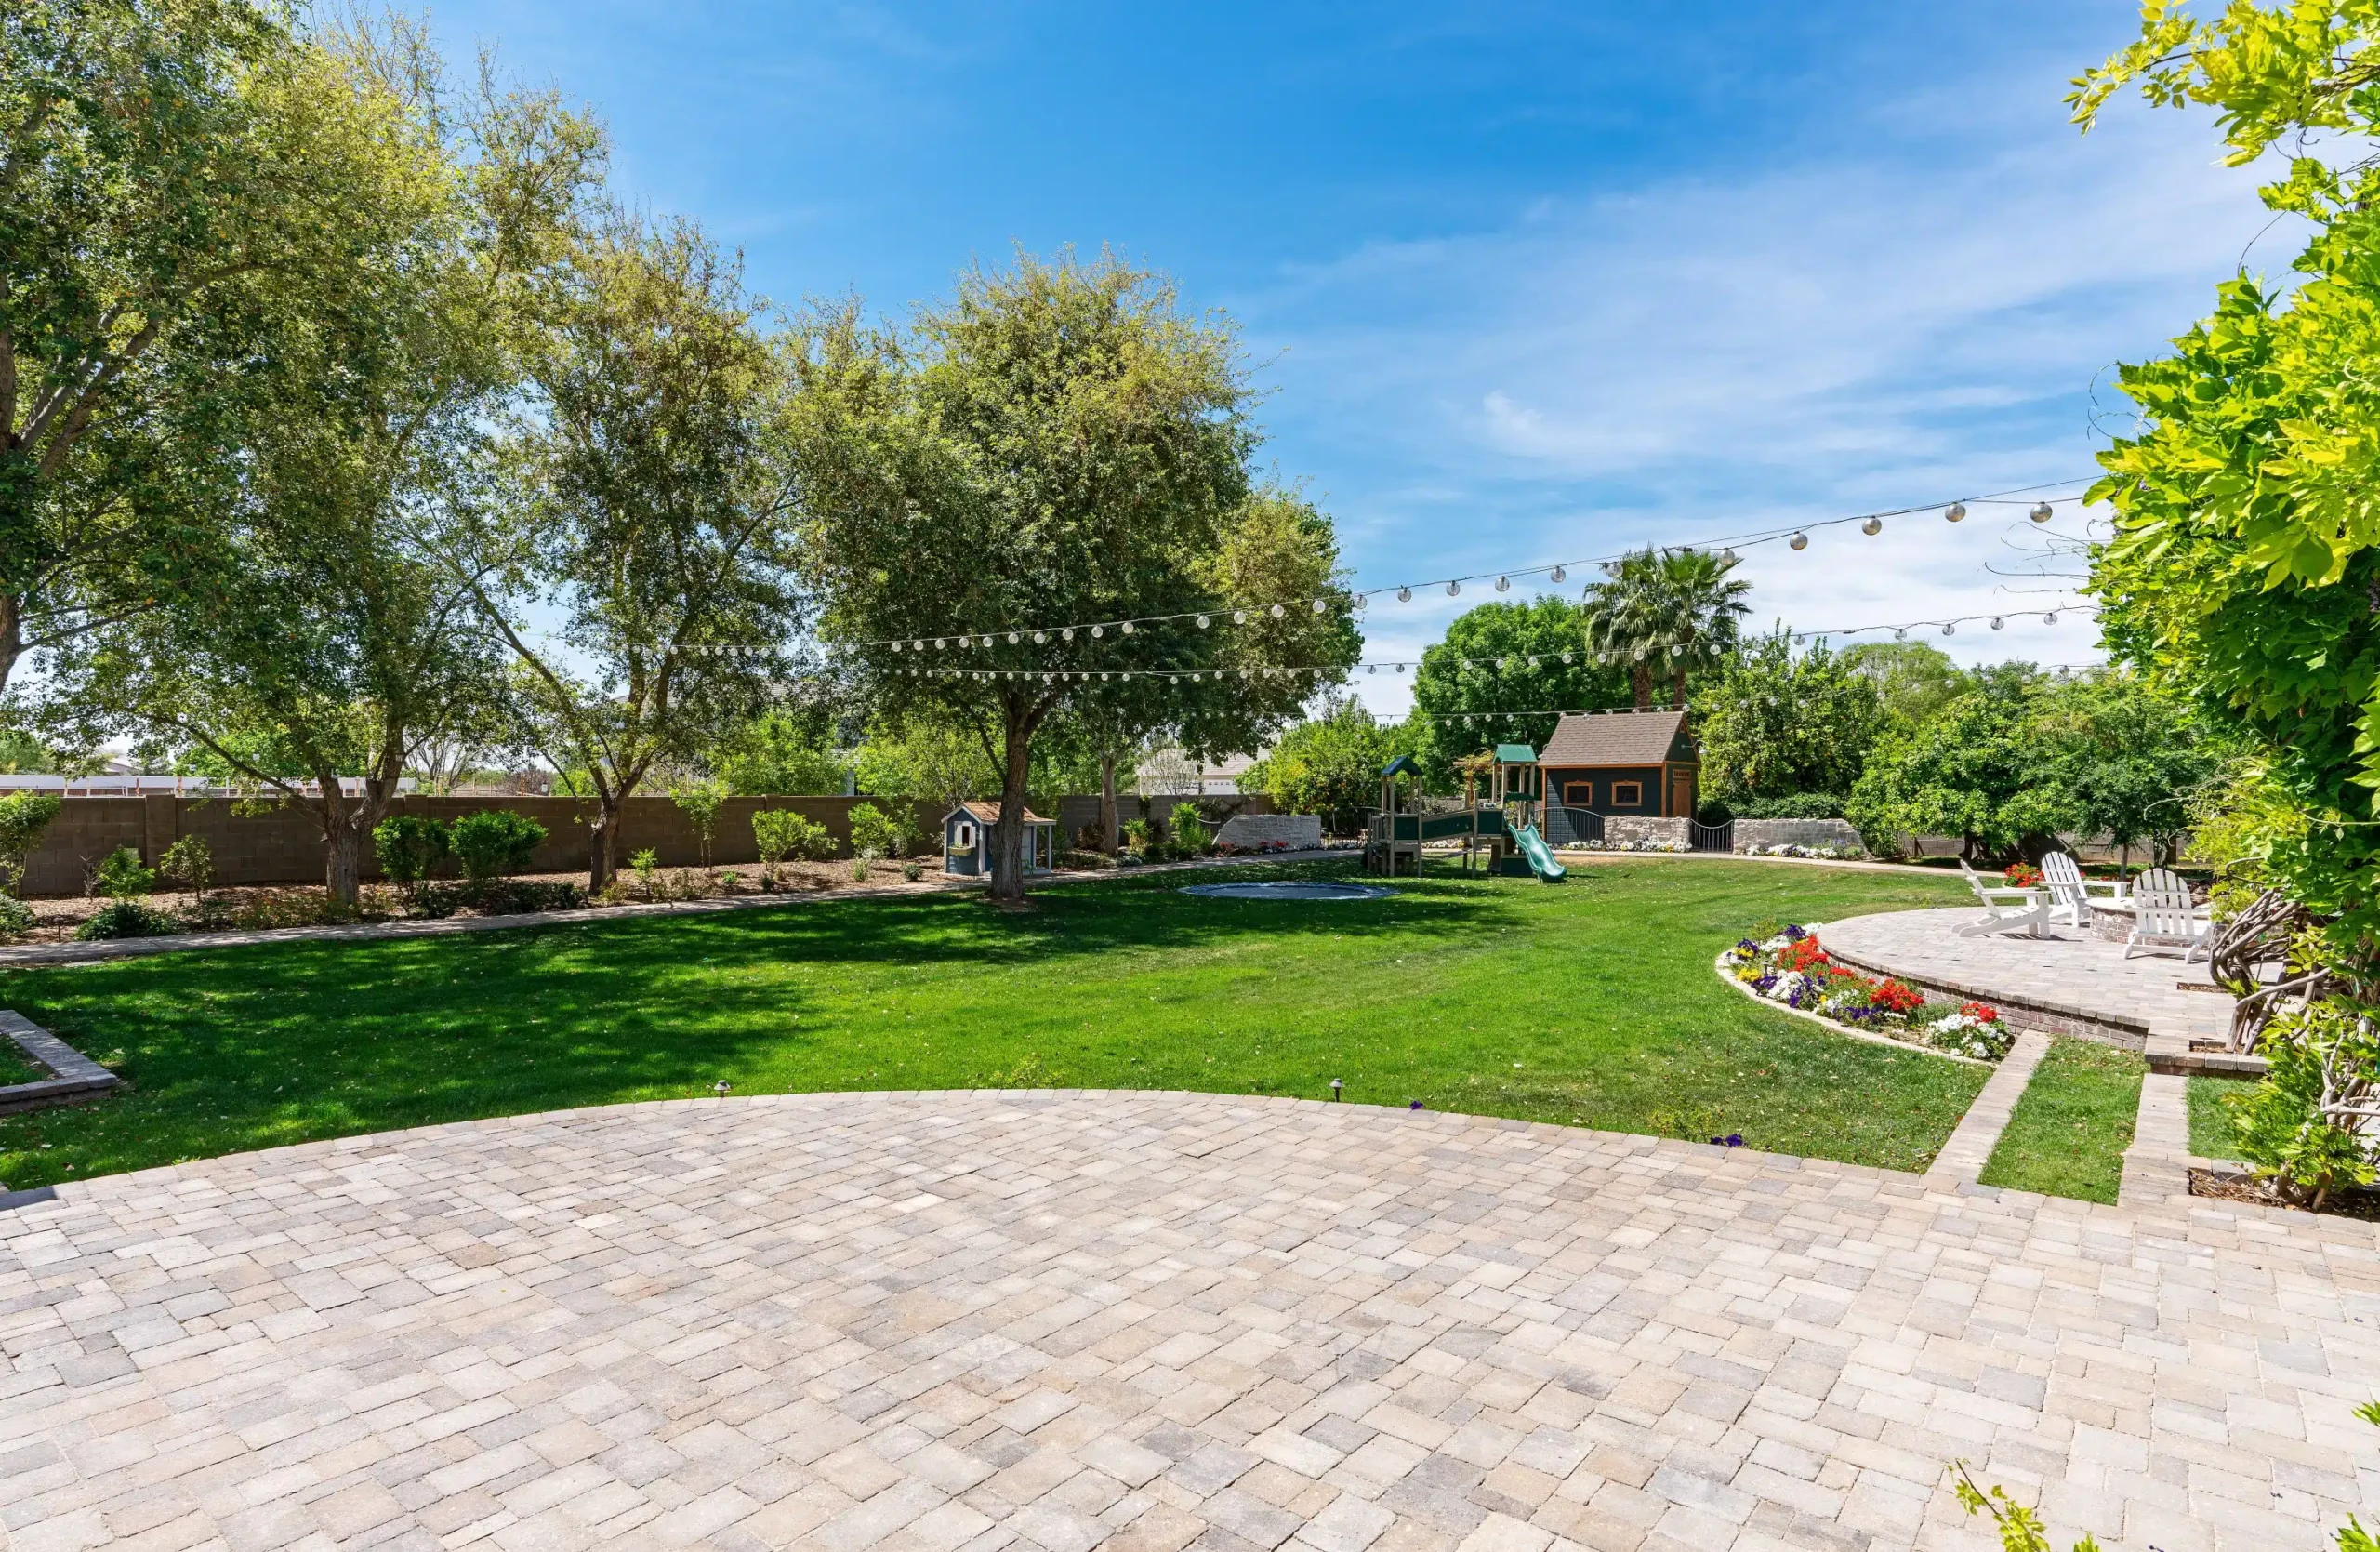
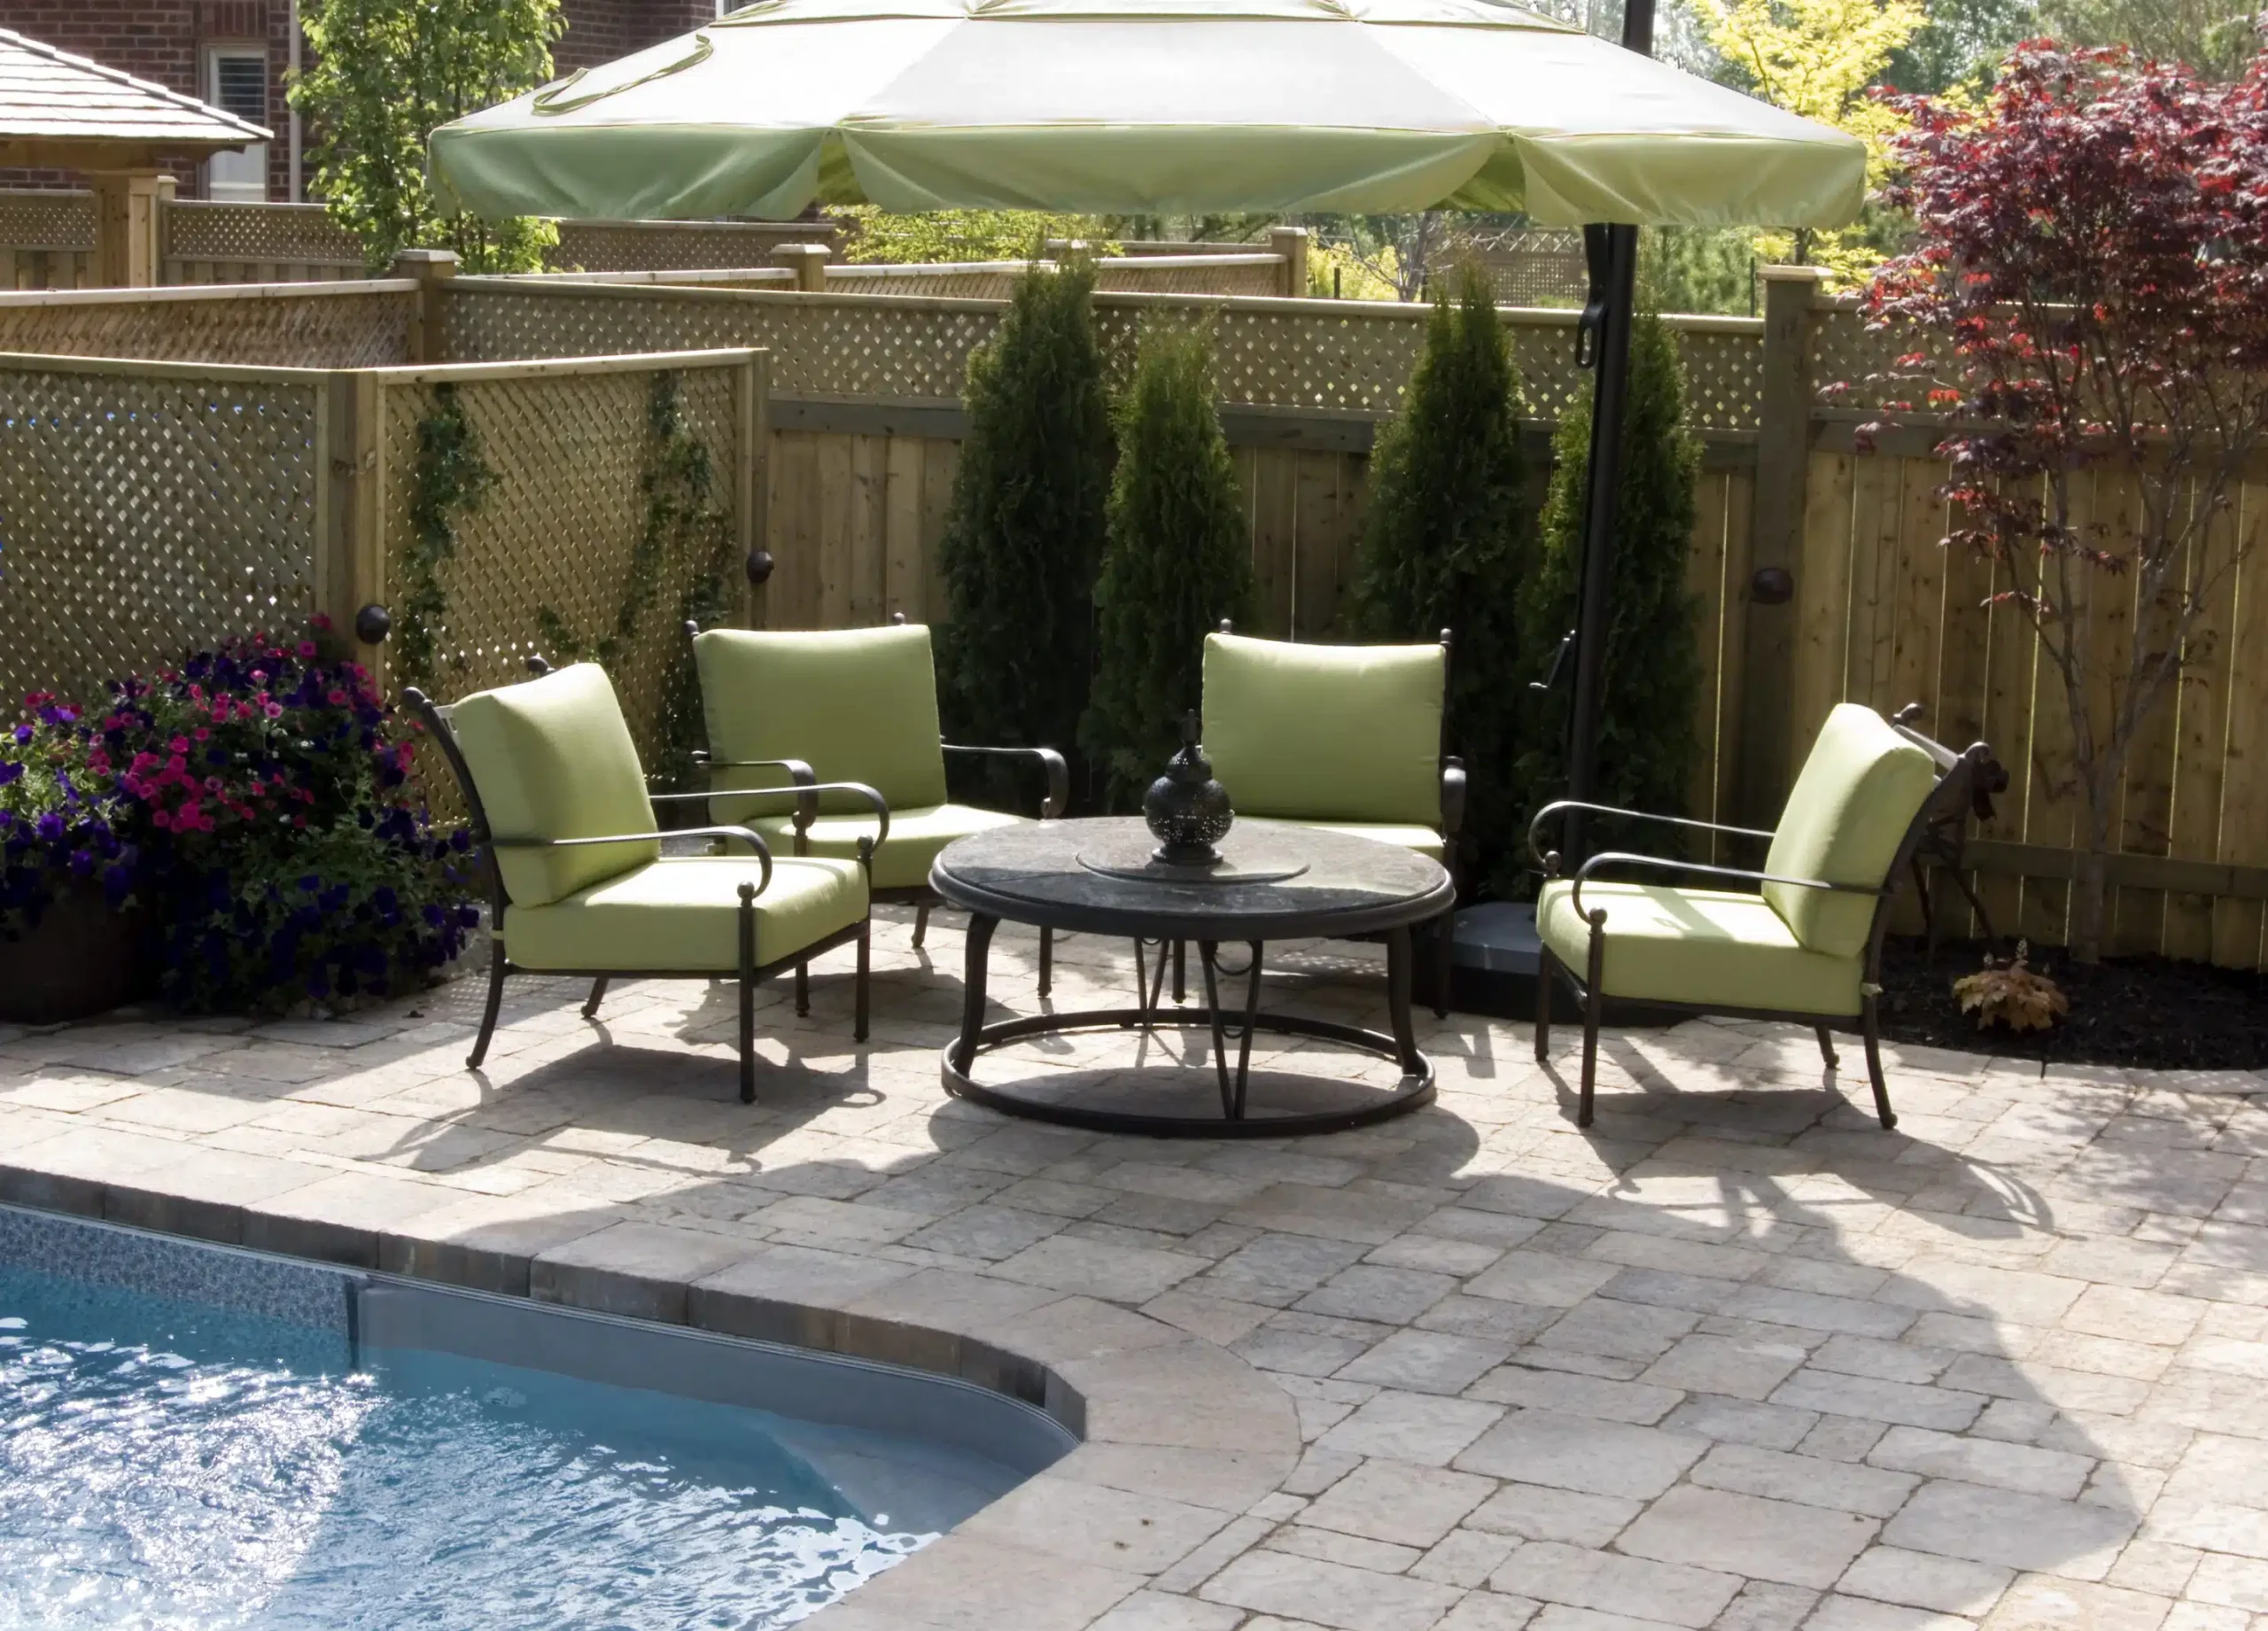
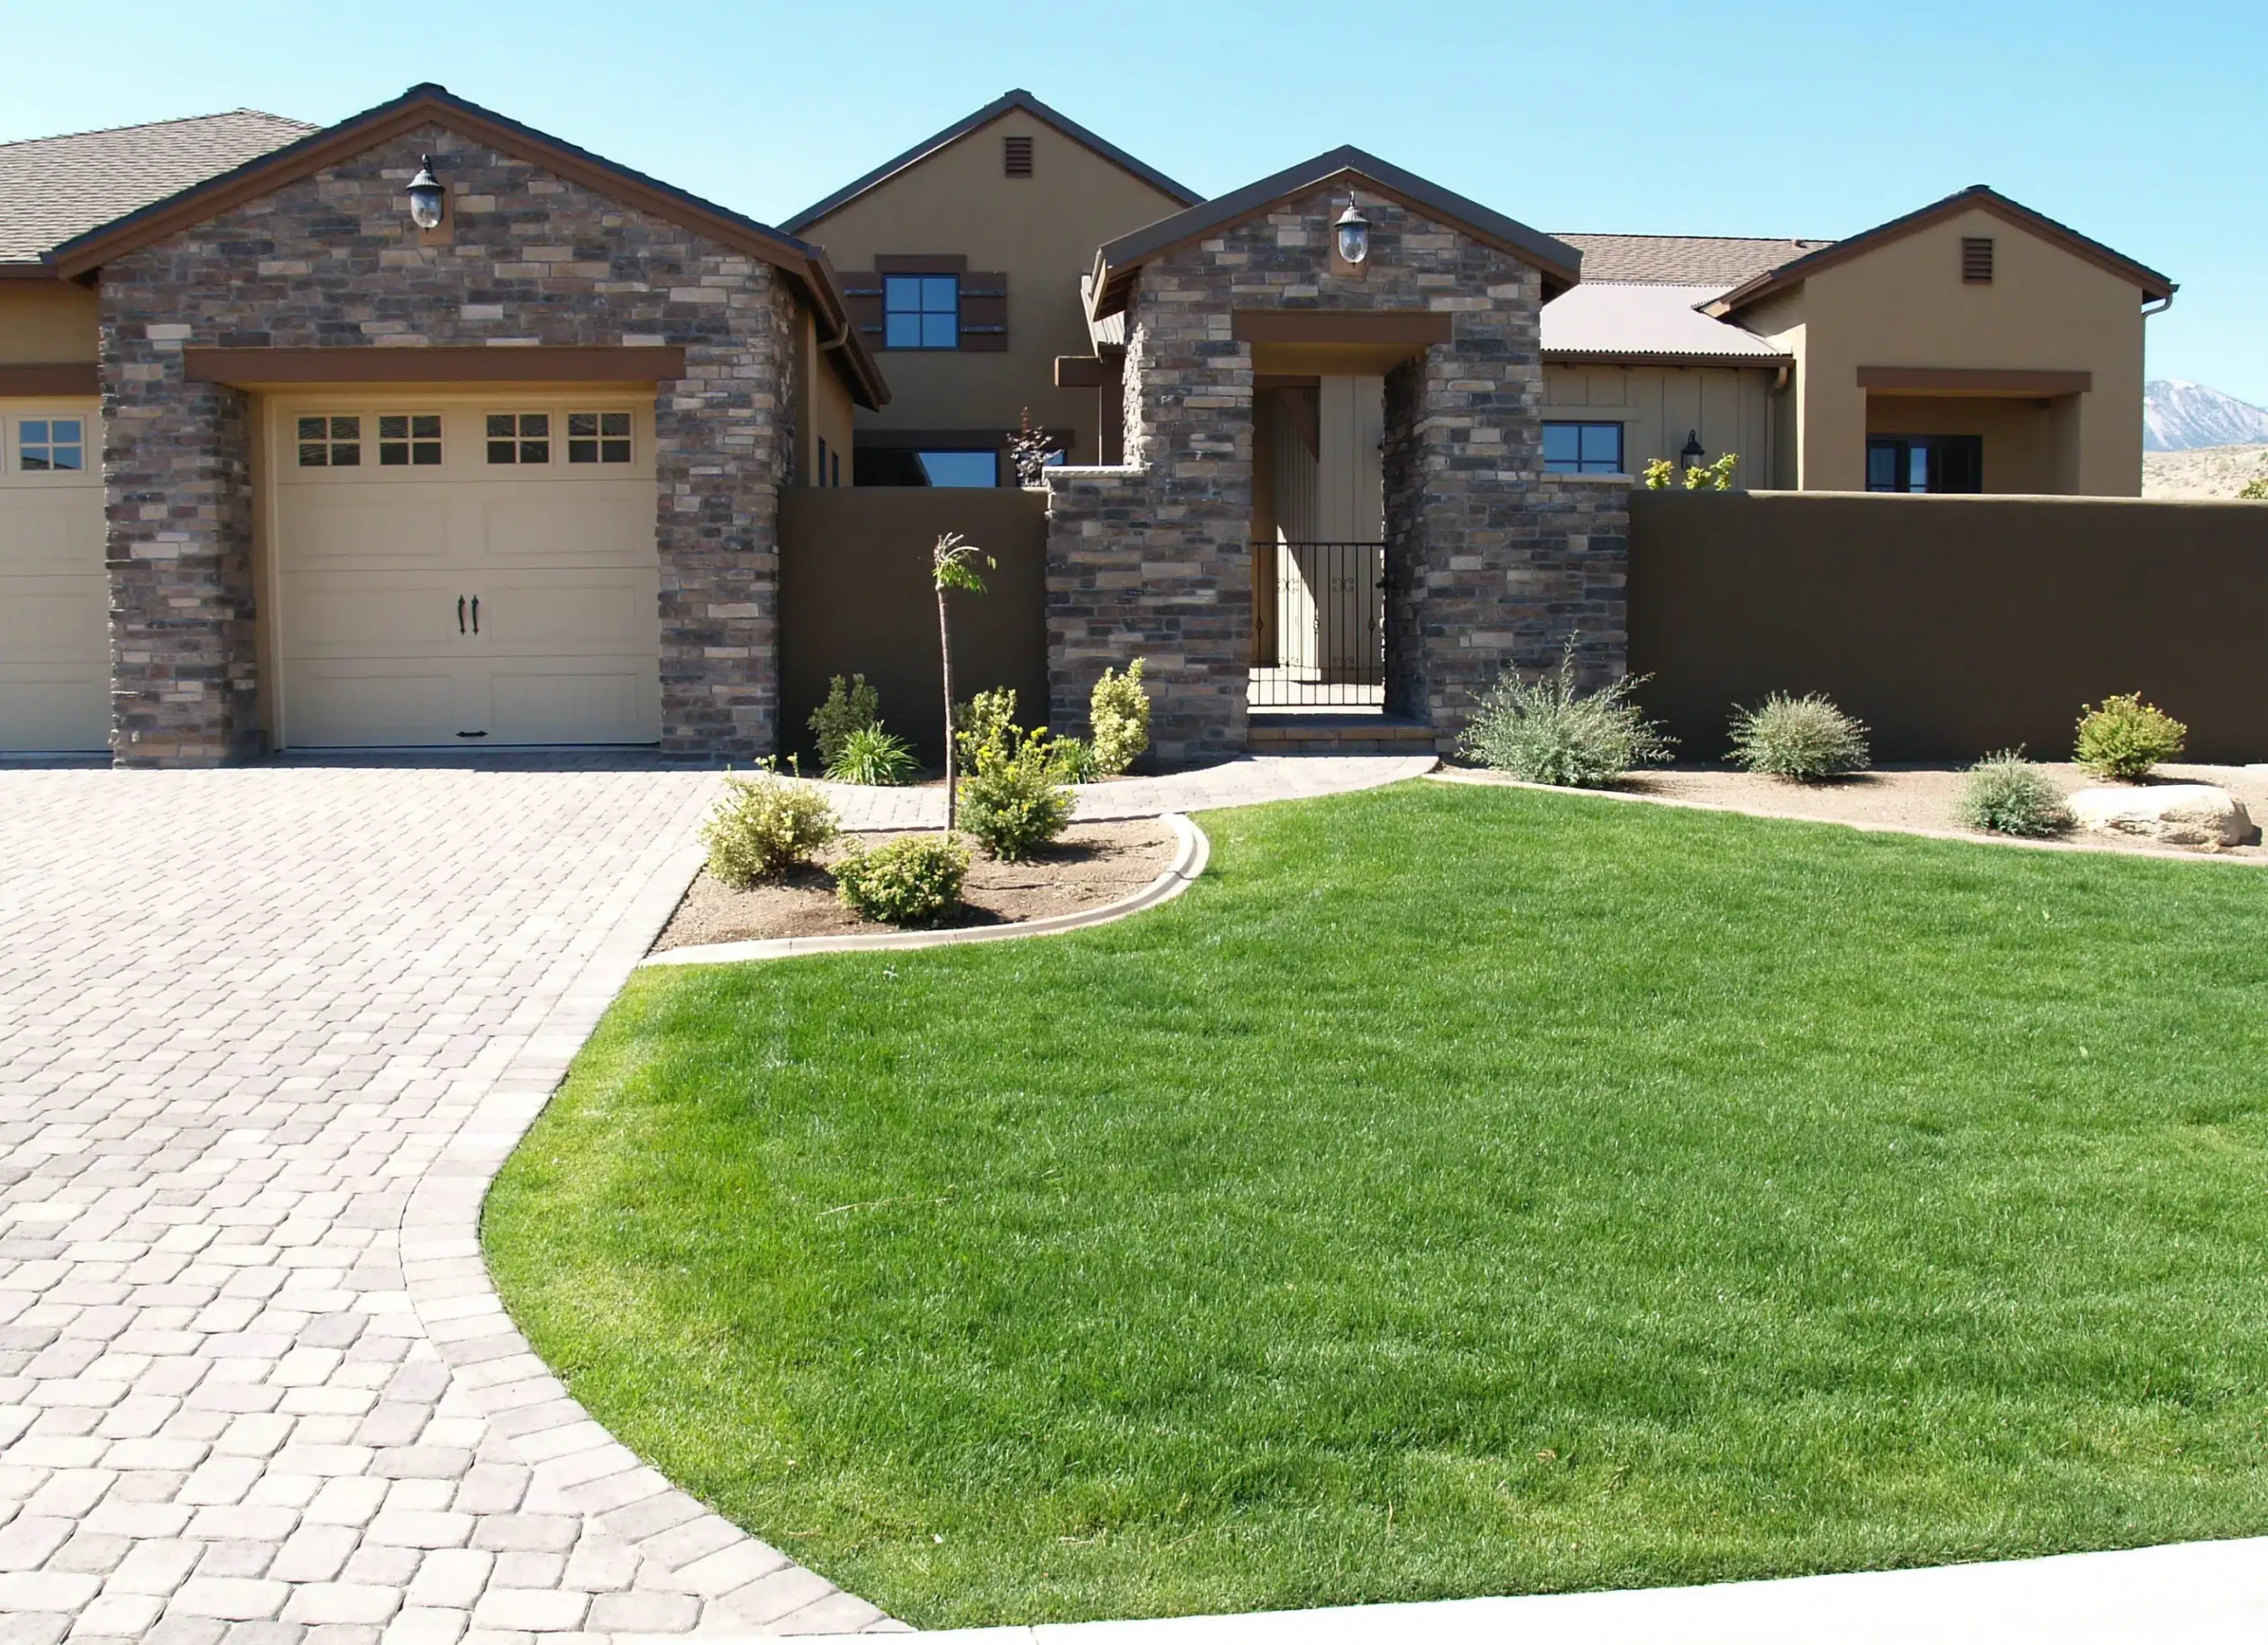
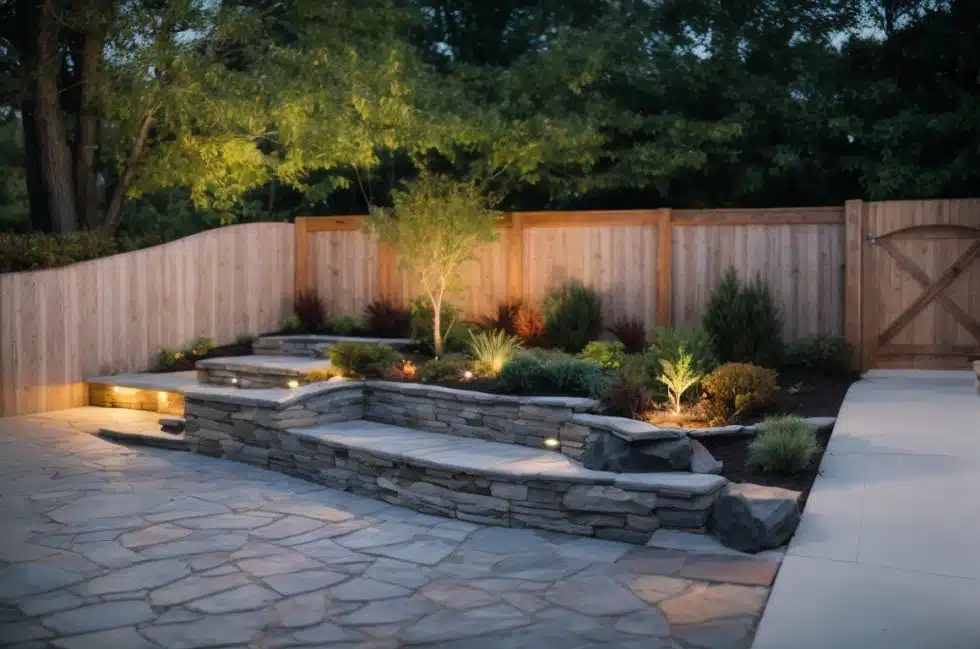
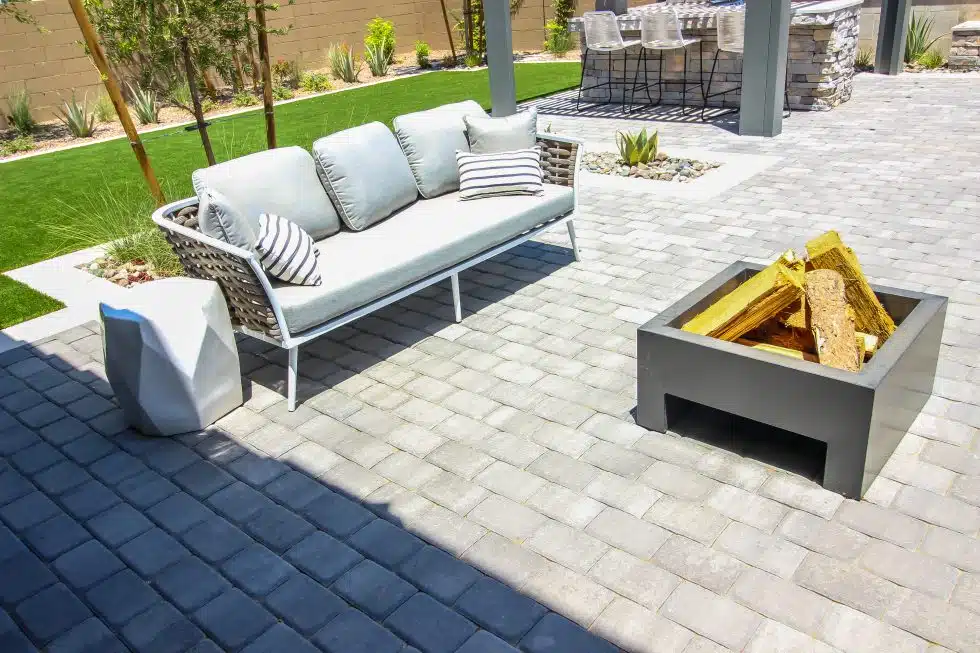
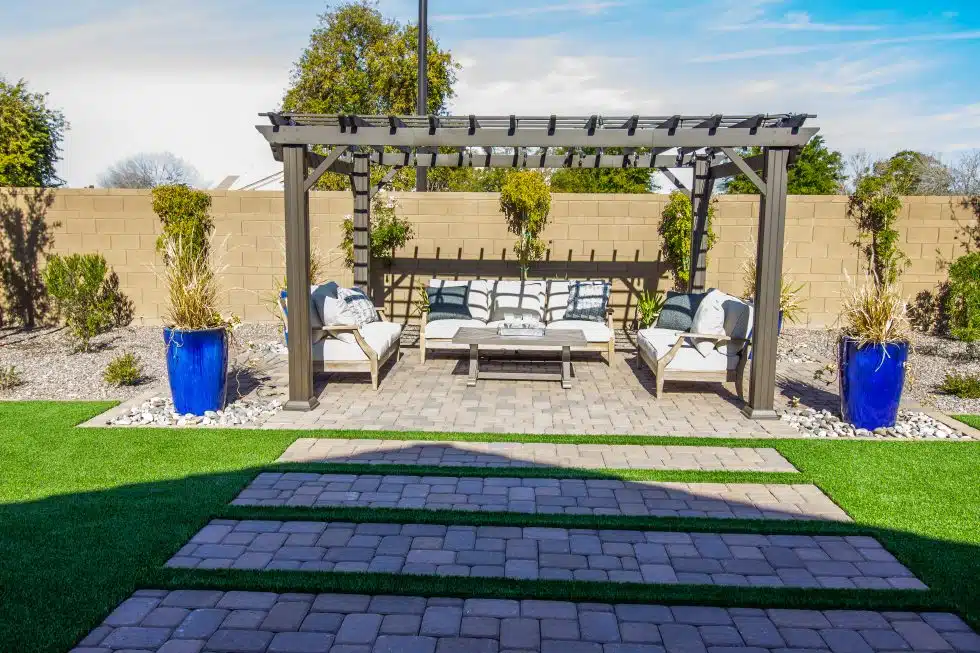
One such feature in achieving this picture perfect idea of a home is the installation of a turf, an
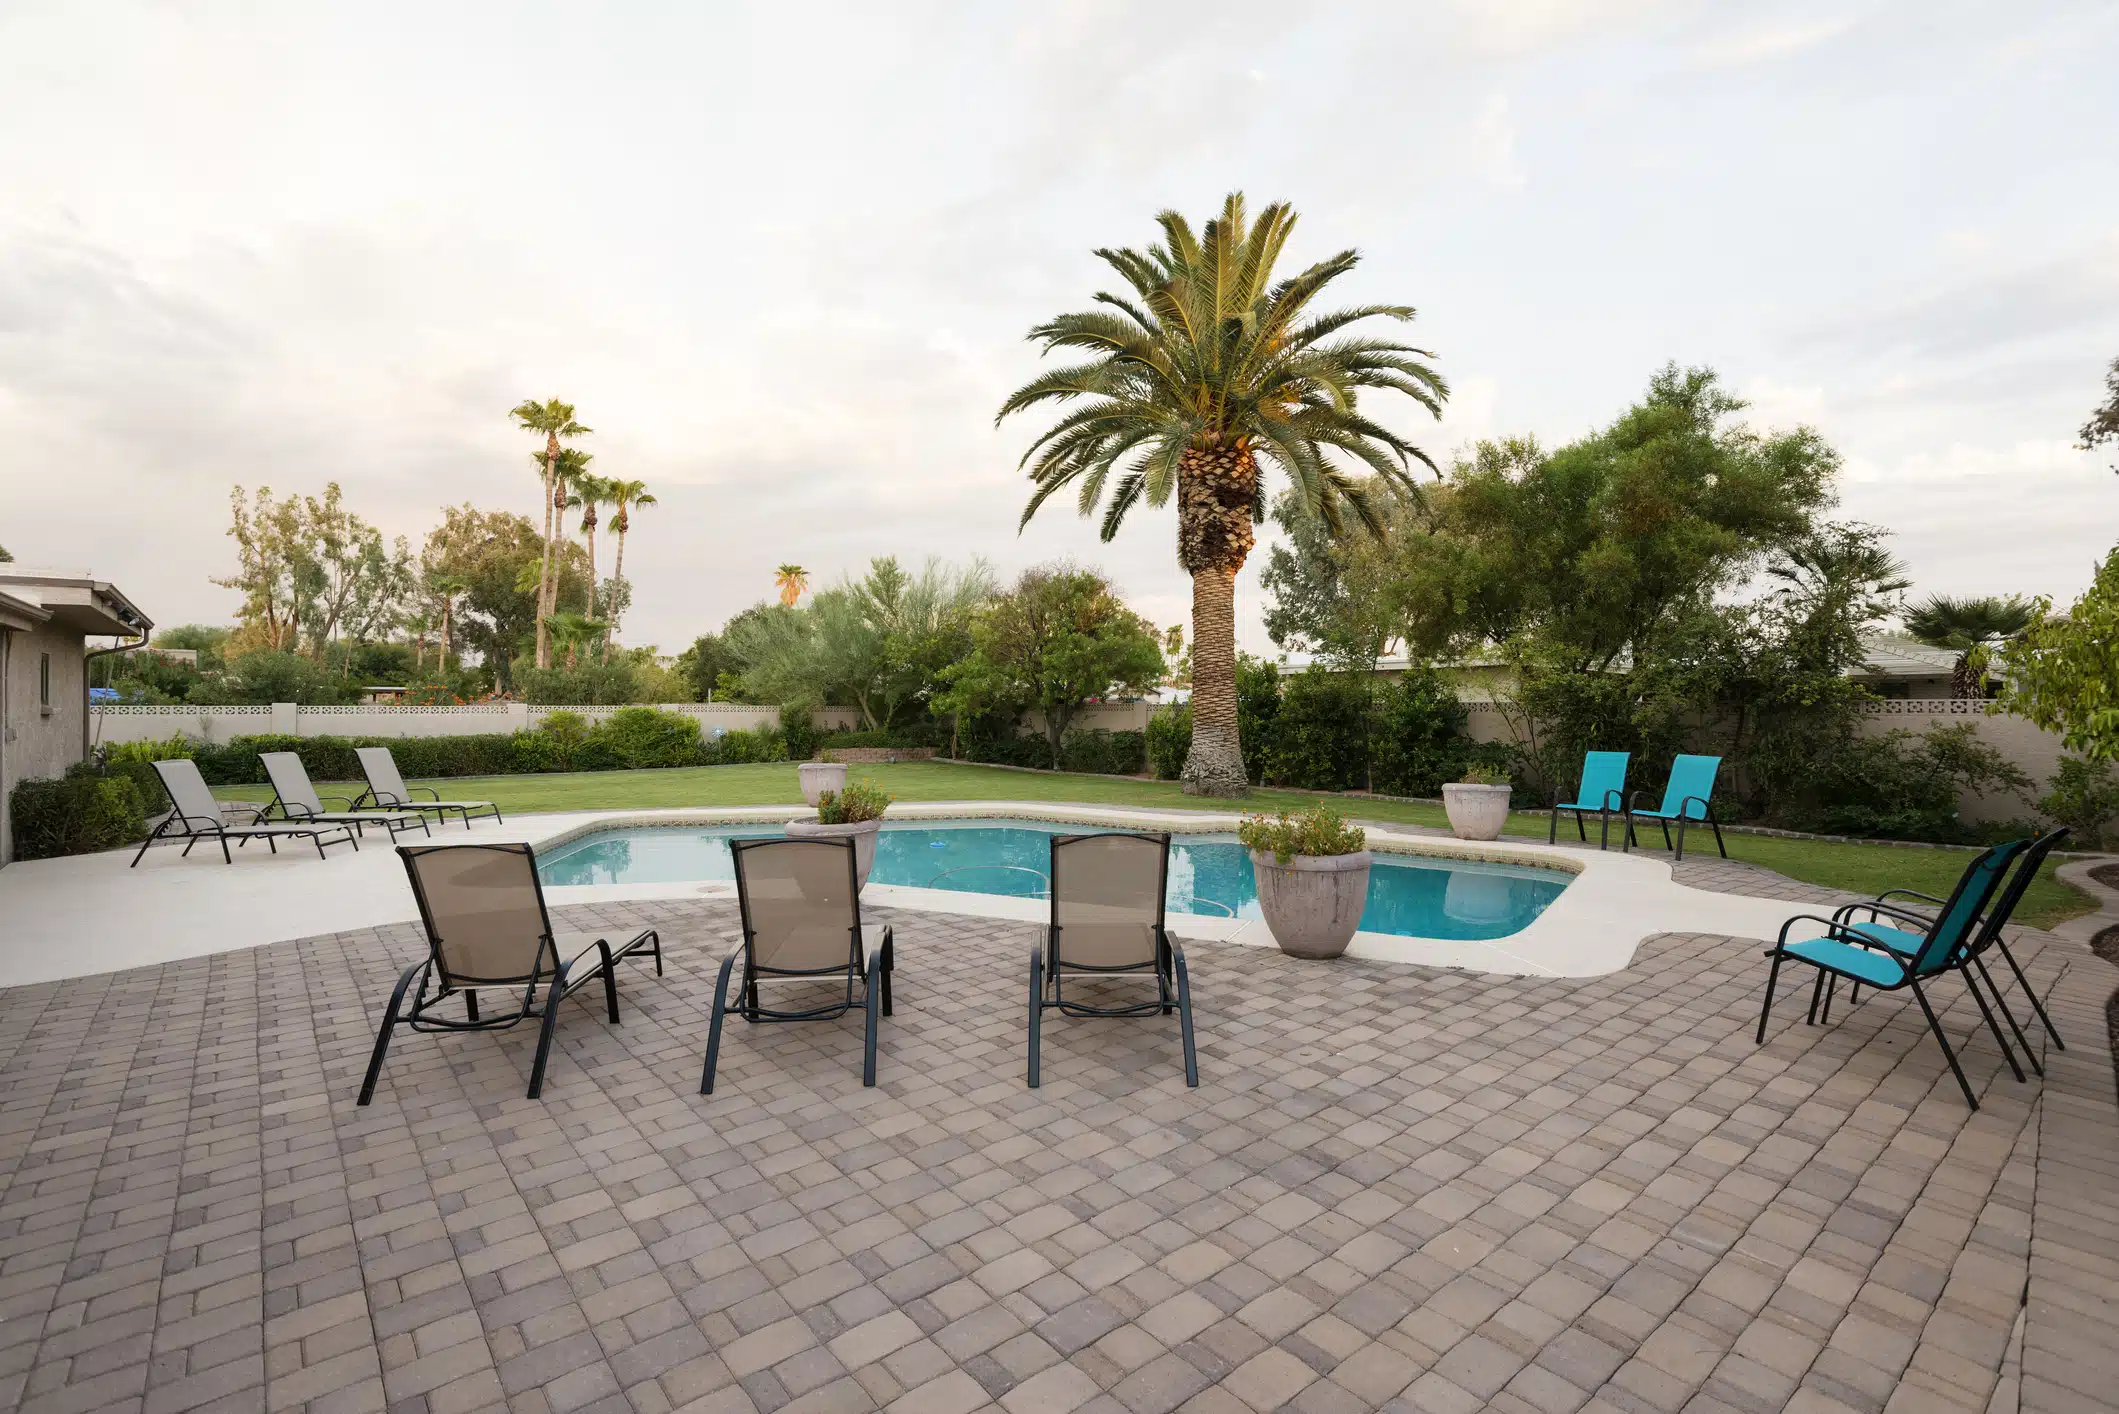
artificial grass patch, in your favorite area. This could be the backyard, poolside area, or even
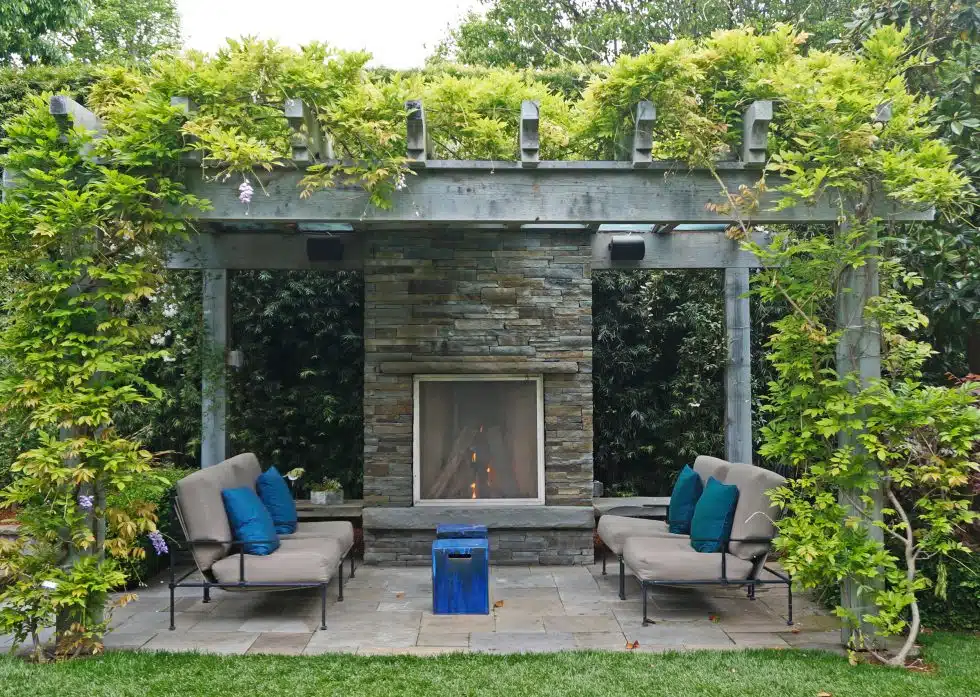
the balcony of an apartment. The whole point of having this turf is not only to add to the beauty
of the place, but to make it an undeclared center of peace of comfort. This becomes the place
where late night coffee is had with your beloved, a cold beer with your friend, or even some
quiet time with yourself. But not everyone is able to enjoy these moments, especially because
they don’t have the turf to make their houses/apartments into homes.
One of the major reasons why people don’t have turf in their houses/apartments is because of
the associated cost, not just of the turf but of its installation as well. Well, what if I told you that
you can have the turf and save up on the cost of having it as well, wouldn’t that be a dream
come true.
Well you can save up on the cost of having a turf by installing it by yourself. You won’t only have
saved money on installing the turf, but also have a fun time with your family and friends doing it.
The real question, however, is how to go about it. Even though you can install turf by yourself, it
is the uncertainty of successful completion that discourages people from doing it.
Not to worry about it as we bring you a step by step guidance on how to install turf by yourself. If
you want to install turf in your home, follow these easy, but essential, steps to make it a reality.
The First Decision:
The first step for doing anything is to take the decision of doing it. But how
do you make the decision of installing turf? Well, let me guide you to take your first step. The
first two things that you need to do is to decide the spot where you want to install the turf, then
measure the area for it.
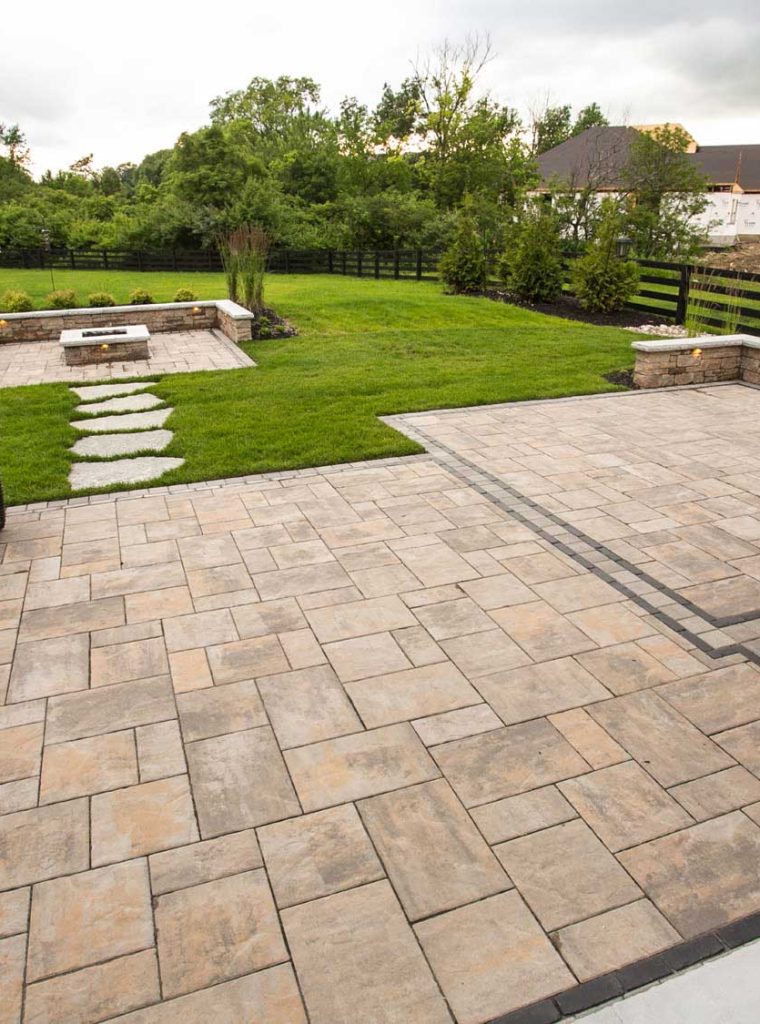
Where to install the turf is completely up to you, just remember that it’ll become your sanctuary
from them onwards. Once you’ve chosen the spot, it’s time to measure up the area as well. You
can use whatever tool you have to calculate the length and width for the turf. Which brings us to
the last step, deciding the type of turf you want to install. See relevant articles for choosing the
best turf for you
Pen It:
After you’ve made the first decision to get the turf, and also tightened your belt for
installing it yourself, you need to sketch out the details. Sketching out the details requires you to
evaluate the area and the turf rolls that you will be needing. Also, the tools and the additional
help from family and friends that you’ll be needing in it as well. This can be done on a plain
paper or a graphic software, if you are a geek like me.
Make Way:
Once the mental and paperwork is done, it’s time to put those muscles to use. The
next important step is to clear the area where you have decided to install the new turf on,
making way for it. If you are replacing the dead grass by plucking it out from the soil, then you
might need some extra help from family or friends. Along with the extra pair of arms, you will
also need the necessary tools to clear the soil. Make sure that there are no remnants that could
damage the turf in any way. A wheelbarrow would come in handy in this portion of the
installation plan, just a suggestion.
Build The Base:
After the coast is clear, it is time to lay the foundation for the new member of
your house. You will have to lay a foundation of gravel on top of the plucked soil to be the base
of your turf. It is recommended to have a gravel base of 3-5 inches for the turf, the thickness can
vary according to your preference. Also, make sure that the gravel slopes away from the house
and towards the drainage to help the water to wash off without any hassle. Once that is done,
you should lay the second layer of well-crushed gravel to give the place a smooth look. Tap on it
to smoothen it out even more, and secure the slope as well.


Roll Out:
After the base has been laid, smoothened, and secured, you won’t be able to contain
yourself from completing the picture, rolling out the turf. The patience and hardwork would finally
pay off, but this the trickiest part of the entire process. While you are rolling out the turf, be very
careful with the base. Even a slight dent in the base at this point will show on the turf once it’s
laid down. So, be careful in rolling out the turf.
Glue the rolls together, and secure them with nails to keep them steady in their place. You have
to make sure that the turf is stretched out completely and laid down with perfection to give that
beautiful effect.
The Infills:
The turf is rolled out, and it is all looking beautiful, but there is one last thing to do;
infills. The infills are meant to secure the turf in its place, prevent any lump and dent in it as well.
You can choose from a variety of infills, our recommendation is sand or silica, for best results.
Spread the infills out on the turf evenly and enjoy the new spot in your house.
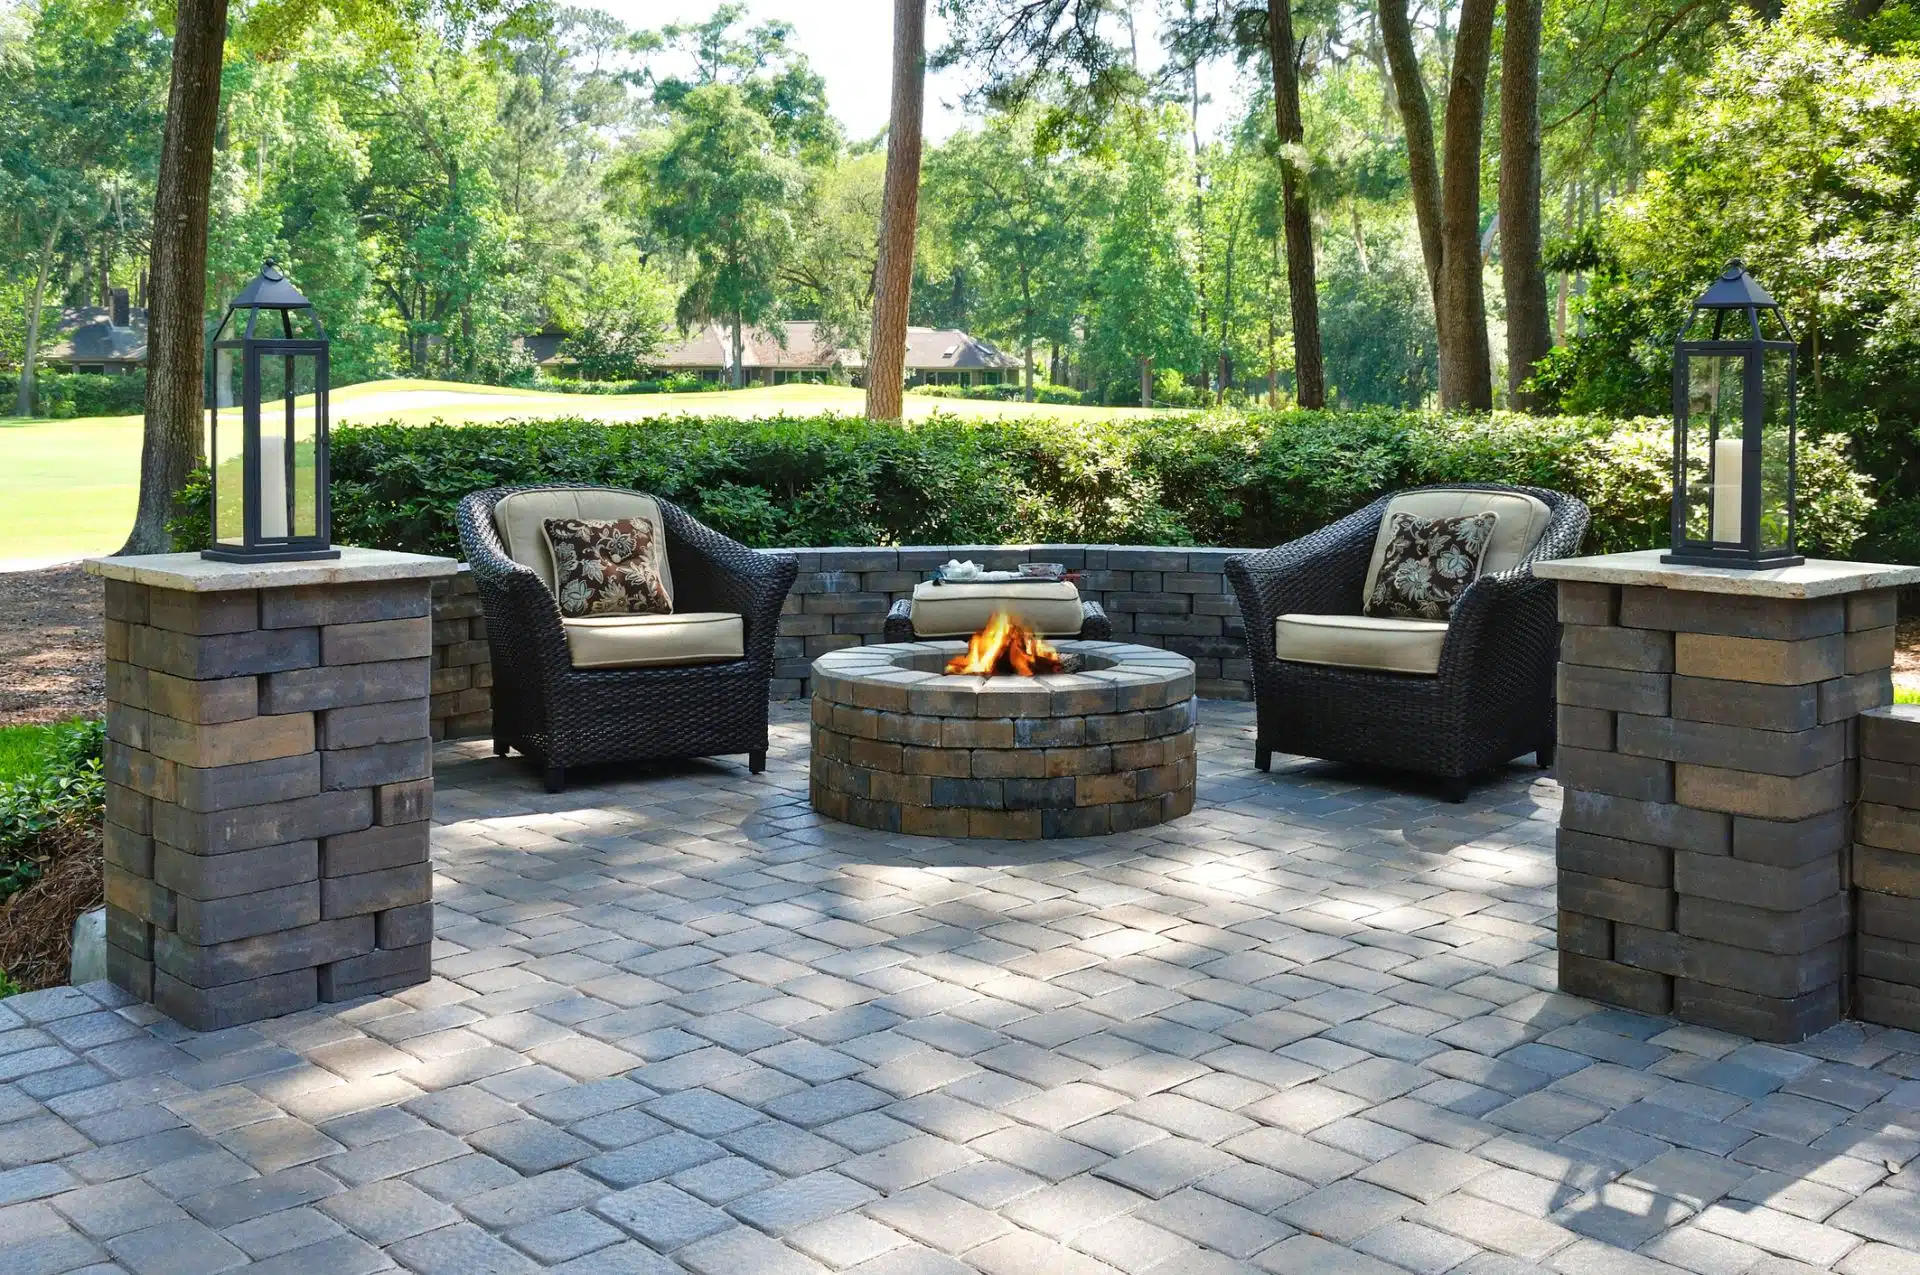
And that, my friend, is how you install the turf by yourself. Even though it is a tasking and time
consuming job, the result will make all your sweat and effort worth every bit of it. The most
important part of it all is that you will have saved a lot of your money on installation, using it
instead to getting those lawn chairs you always wanted.
For me, installing turf by yourself is more than just about saving money, it’s the opportunity to
have the family work on something together. So, make the holidays count and start working on
installing turf in your house by following the 6-step mantra.